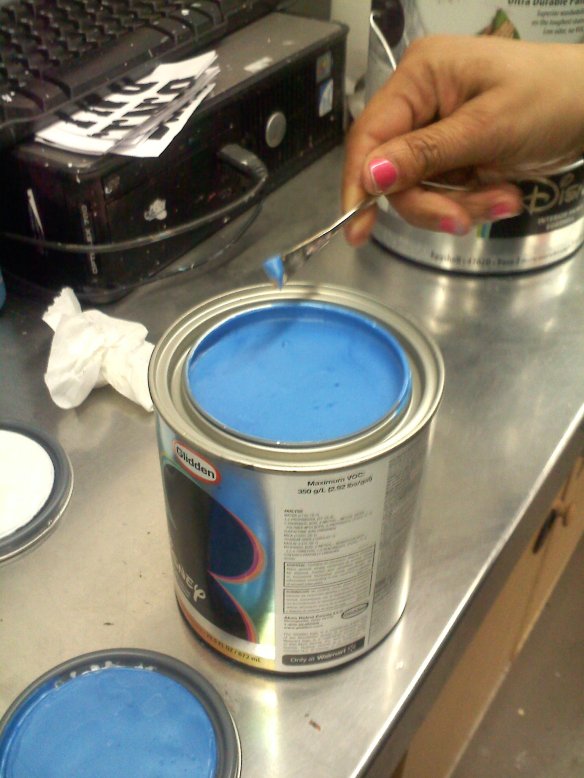
In an earlier post, I wrote about my experience buying Disney Paint by Glidden at Walmart. Before, during, and after that shopping experience, I learned some very important things about painting a room. It’s not just about the colors, but also about the amount of gloss in that color. I kept hearing the word eggshell, but I wasn’t sure what it meant. Well, now I know and it is what determines the volume of gloss the paint will display. Since we wanted a semi-gloss appearance, eggshell was just perfect. Our assistant at Walmart plugged in the corresponding codes for the colors into the computer, the color came out of a dispenser and went right into the paint bucket of eggshell. She then put the bucket of pain in the “paint shaker” and voila! Our colors were alive!
Once the paint was home with us, the old room and its walls had to be prepared. Thankfully, my husband has done this a few times in his life, so he knew what to do. If you haven’t done this before (me!), I have included his surface preparation checklist:
Scrape off loose paint with a paint scrapper
Fill in cracks and holes by using spackle (found in the paint section of your local Walmart)
Put primer on any bare spots (or in our situation, crayon murals!) This way, the crayon will not show through the paint.
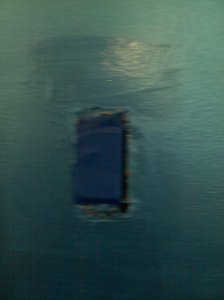
Before any painting is to begin, remove all light and outlet covers and cover switches and outlets with masking tape.
Also, push all furniture away from the walls and cover it with plastic sheets.
Remove shades and curtains.
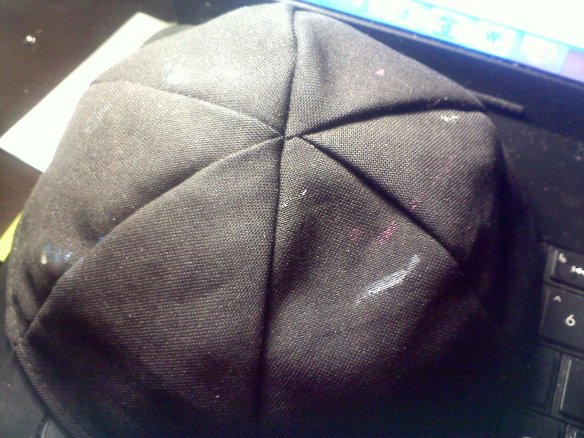
Special note: wear a painters’ hat and clothes that you would want paint on. My husband’s kippah (little beanie worn by Jewish men) is now a “kippah of many colors”. Next time I am going to get him a different hat.
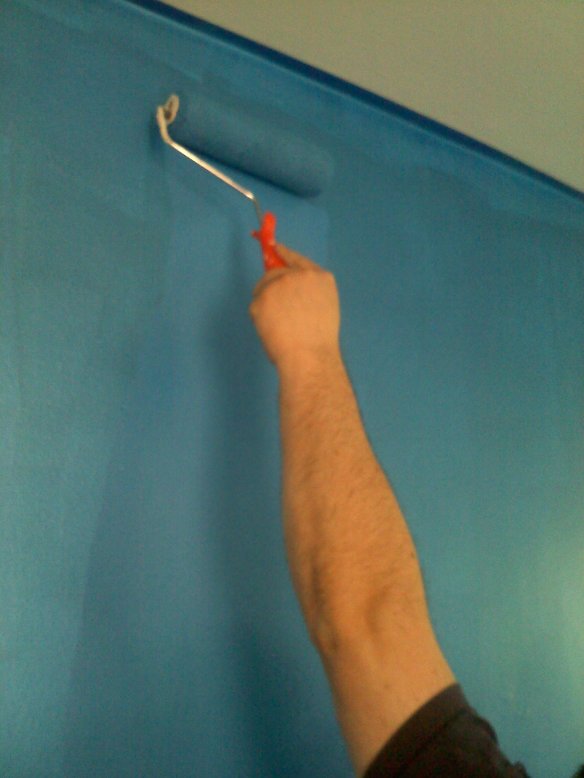
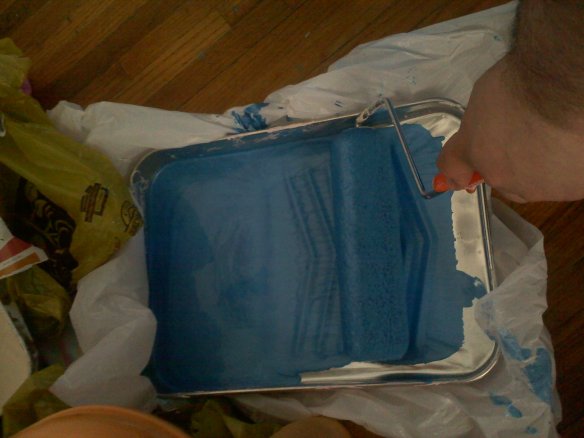
Once the surface preparation is completed, let the painting begin. As I mentioned in an earlier post, we decided to make a room for both a boy and a girl. This room, the largest bedroom, is also where our kids and their friends play. We decided to go with colors that would complement each other. For my son, a huge Pixar fan, we decided on the Disney Specialty Finish, Magnificent Metallic in Royal Blue.
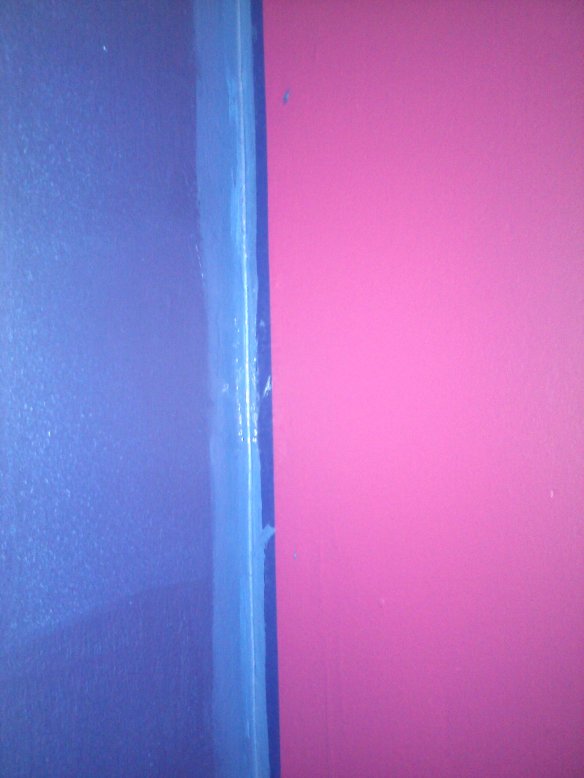
On the wall in between my son and my daughter, there is a window. We decided to paint this wall in the Disney Ultra Durable Paint color, Pretty as a Princess. On the other side of the window, which will be my daughter’s side of the room, we used a generic pink color. I have to say, the Disney Ultra Durable Paint was a pleasure to paint with. There was barely any odor, it dried fast, and the clean-up process was simple, just soap and water.
Now that the paint has dried, we are now working on the other finishing touches. We will be revealing all of this in an upcoming post! It will be magically magnificent!
Disclaimer: Compensation and products for review were provided by Glidden via MomTrends. The opinions expressed herein are those of the author and are not indicative of the opinions of Glidden

Can’t wait to see the finished project!